How to Install a Twitter Timeline Widget on the Latest Blogger
Actually, I haven't played Twitter for a long time, yes, because I focus on blogging..
What is Timeline Widget
The timeline widget is a feature of embedding a collection of Tweets (which is known as a timeline) on a website or blog, either blogger or wordpress. There are five different types of timelines available, all of which look and feel like the timeline on twitter.com :
- Profile : Displays public Tweets from any account on Twitter.
- Like : Shows all Tweets that a particular account has marked as likes.
- List . Showing Tweets from Public Lists .
- Collection: Displays unique Tweets from a Tweet Collection.
- Moment : Featuring unique Tweets from public moments .
Note: The Timeline Widget will only show content from accounts that have public Tweets. Content from accounts with protected Tweets is not compatible with any embedded timeline widget from Twitter.
How to Install Twitter Timeline Widget on Blogger
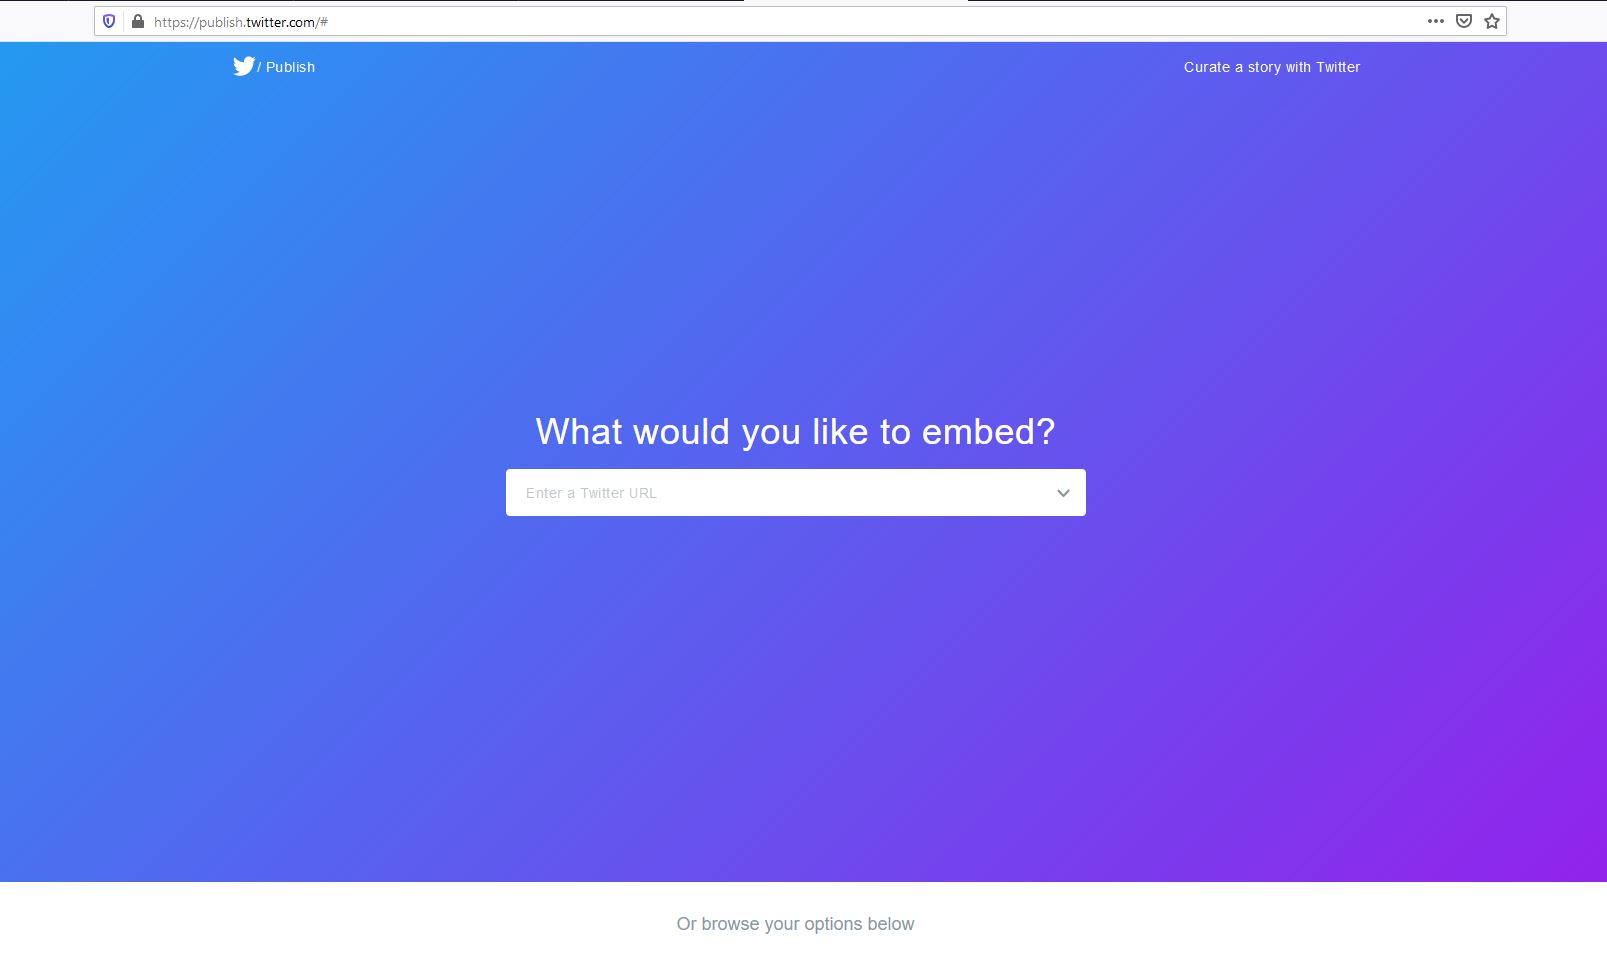
1. Open https://publish.twitter.com/
Now to create a twitter widget that used to be in the settings section, now it's moved to publish.twitter.com
2. Enter the URL of the timeline or Moment that you want to put on your website / blog.
Jso you just type it, for example, you want to install RahmanCyberNet, then just type "RahmanCyberNet" you don't have to https://twitter.com/rahmancybernet
then click the arrow if it is correct..
3. Adjust the design, usually there is a timeline display option or just a tweet button
After you click the arrow button, an option like this will immediately appear ..
sometimes it only appears directly for the tweet button... like this..
Just choose what is available, then the code will appear
The code for the Tweet Timeline looks like this:
<a href="https://twitter.com/intent/tweet?button_hashtag=rahmacnybernet&ref_src=twsrc%5Etfw" class="twitter-hashtag-button" data-show-count="false">Tweet #rahmacnybernet</a><script async src="https://platform.twitter.com/widgets.js" charset="utf-8"></script> The code for the Tweet Button looks like this:
<a class="twitter-timeline" href="https://twitter.com/Rahmancybernet?ref_src=twsrc%5Etfw">Tweets by RahmanCyberNet</a> <script async src="https://platform.twitter.com/widgets.js" charset="utf-8"></script>
The next step is..
4. Copy and paste the code into your website's HTML wherever you want the timeline to appear.
Go directly to your blog, go to Layout -> add widget -> select html / javascript
as in the picture below
if done, you don't forget to save...
5. Finish!
That's how simple it is to install the latest Twitter widget on our blog or website...whether it's placed in the footer, sidebar, content or header...
So much for the discussion...
See you
F.N.A RED


Post a Comment for "How to Install a Twitter Timeline Widget on the Latest Blogger "